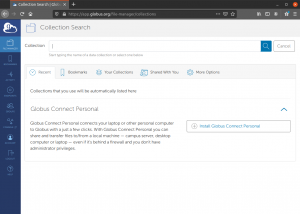
Note: The documentation was created based on the Chrome and Firefox Browser. Other browsers may provide a different experience.
Globus is a secure, reliable service for research data management to share, move and discover data through a single pane of glass. There are several use-cases for Globus which include transferring files, sharing files with others, developing applications, and staging gateways. This document will focus on transferring files from the UCT Research Data Storage solution to any Globus end-point around the world. Globus is positioned to assist researchers of universities, national labs, government facilities, and other research institutions to effectively move data around with minimal effort.
Transferring data seems like a trivial exercise and it should be. However, when datasets reach large-scale proportions in the 100s of terabytes then data transfer mechanisms become more complex. An example of this would be to transfer 100s of terabytes of data from UCT to other research institutes without a network disconnect, to withstand long periods of idle time, and successful retry options with MD5 checks. Also, we need to transfer the data without having the need to keep our laptops, desktops, or mobile devices active in order to conclude the transfer.
This document assumes that you already have a connection to the University of Cape Town VPN network. The VPN client can be installed by downloading from https://vpn.uct.ac.za. Refer to the VPN documentation on the ICTS website for installation and configuration. The following details the setup of the Globus Personal Connect Client and mapping the network drive of the UCT Research Data Storage solution.
-
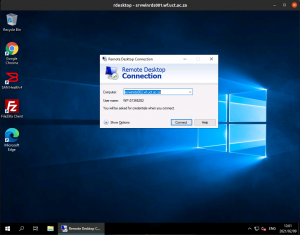
Upon connecting successfully, open a remote connection to the ICTS managed Microsoft Windows Remote Servers. The servers enable various tasks to occur remotely without you being connected. Enter the server details: srvwinrds002.wf.uct.ac.za and authenticate with your UCT credentials.
-
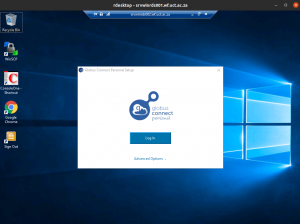
Launch the Globus Personal Connect Client from your Windows logo button found at the bottom left and search for Globus Personal Connect Client. The following should appear as seen in the figure below.
-
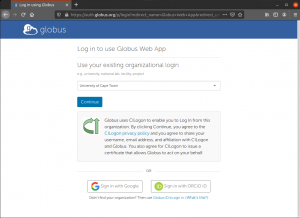
Click on the login button. This will open up a browser redirecting you to the Globus app login page. Type in “ University of Cape Town “ and select it. Click Continue.
-
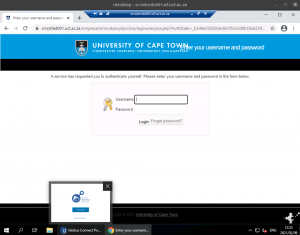
You will be redirected to the SAFIRE login page. Enter your UCT credentials. NB, only use your userid, do not add @uct.ac.za or @wf.uct.ac.za
-
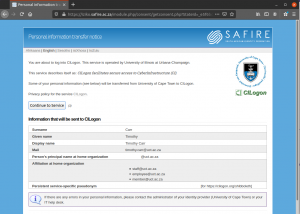
Upon successful authentication the SAFIRE page appears with details related to your login.
-
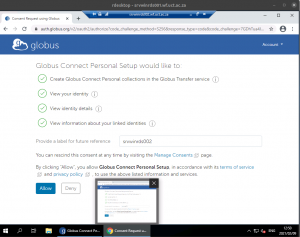
You will now be redirected to the Globus file manager page. Enter a label for future reference. This can be in the form of the name of the machine and staff ID, for example, “srvwinrds002 – <Data_Description>”. Click the allow button to continue.
-
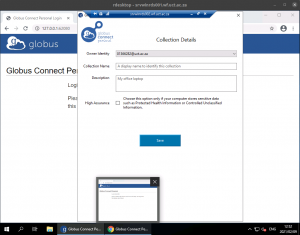
It is important to provide the following details so that you are able to map your UCT Researchdata drive to the correct collection name.
-
Ensure that the “Owner Identity” is correct. The “Collection Name” is the name of the collection which you will search for to connect to the UCT research data storage from within Globus. Enter the name of the collection that describes the storage. As an example, I chose “ Researchdata-Tim-Map “ as an example. NB: This is an example so please do not copy and paste. Then enter a description of the machine you are connecting from. In this case, it is a remote server at UCT so something like “ Windows RDS 002 “ would be fine. Select “High Assurance“ if the data being transferred is of a sensitive nature. Click Save.
-
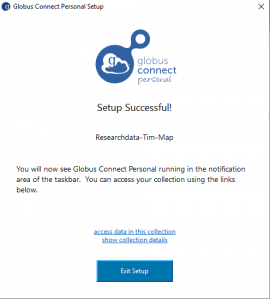
Setup Successful should appear. Click on the Exit Setup button.
-
A message to close your browser will appear. You are welcome to close the browser.
Map a Network Drive to UCT Research Data
-
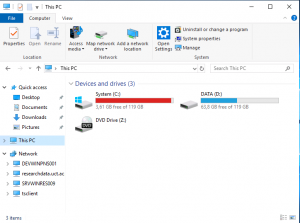
We now need to set up a network drive to map Researchdata to the Globus client. Press “Windows Key + E” which will open up Windows Explorer. Click on “This PC” then click on the “Map network drive” icon at the top.
-
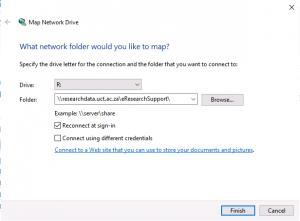
Choose a drive letter and enter the path to your data. For example, \\researchdata.uct.ac.za\eresearchsupport\data. Click on the “Reconnect at sign-in” box as well to ensure your drive mapping exists when the server reboots or you logout.
-
Right-click on the “g” icon in your task-bar located at the bottom right of your screen and then select “Options”.
-
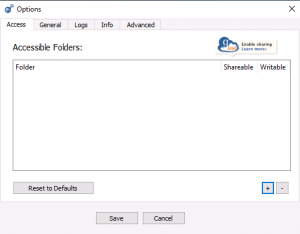
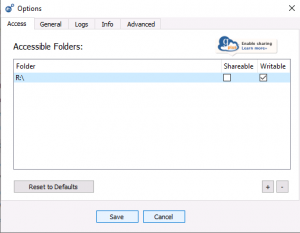
Remove the existing folder which should have reference to the Documents folder on the system by using the – symbol. Click at the + button which will present a dialog box to enter the path to research data storage. If you know the full path, enter the path below. For example: \\researchdata.uct.ac.za\eresearchsupport\. Ensure that the Writeable option is ticked. Then click Save.
-
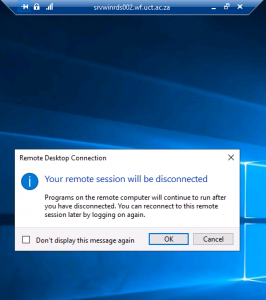
It is essential that you disconnect from the Remote Server srvwinrds002.uct.ac.za but do not logout. Disconnecting will ensure that the session still runs in the background and that all applications, such as Globus, function correctly. You can disconnect by closing down the session using the “X” of your Remote Session.
-
Now that we disconnected (do not logout ) the session to the Remote Server, open up an internet browser on your laptop or desktop machine and browse to https://app.globus.org . Authenticate using your UCT credentials. You should now see the File Manager with two search bars. The first search bar can be used to search for the collection name you created. The second search bar can be used as the destination of another Globus endpoint. The endpoint could either be a Globus endpoint of another research institution or an endpoint of your own personal computer. If the requirement is to move data between UCT Researchdata and your personal computer, then the process followed in this document is the same with the exception of the installation guide. The installation guide of the Globus Connect Personal Client can be found here – https://www.globus.org/globus-connect-personal

