NextCloud is an application for managing your data on multiple servers via one portal. There is extensive documentation on how to map and use external storage, however below is a cheat-sheet for doing so at UCT using the UCT HPC cluster and Researchdata storage.
Login to UCT’s Nextcloud portal using your UCT credentials.
Setup external storage
HPC
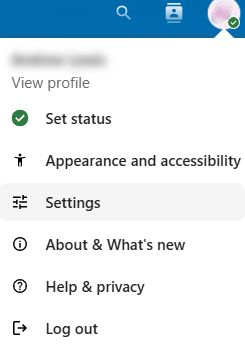 Select your profile initials top right and click on Settings.
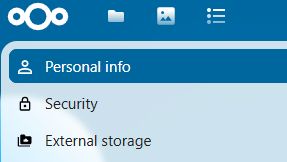 On the far left select External storage
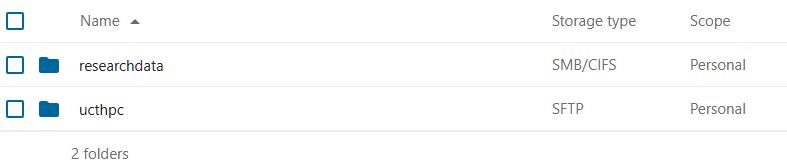
![]() Choose an unused storage slot.
Choose an unused storage slot.
Add ucthpc as a description to Folder name. Under Add storage dropdown select SFTP. Set Host to hpc.uct.ac.za and Port to 22. Set Root to your home folder, or scratch if you want. Note, you will not be able to browse above this mount point, so if you want to see both your /home and /scratch folders then set Root to / You will however have to manually navigate to /home or /scratch when you connect.

Under Login and Password enter your UCT credentials that you use to connect to the cluster. Click on the tick mark, you will be asked to enter your UCT credentials again. The storage mount point is now saved.
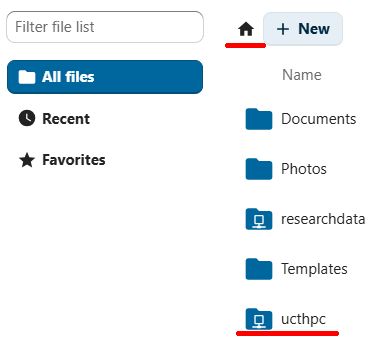
Click on the Nextcloud icon top left and select External storage from the list below.

The HPC storage mount point should now be visible and by selecting it you should be able to browse your data on the cluster.
Note, the first time you select this it may take a few seconds to index the data.
Researchdata
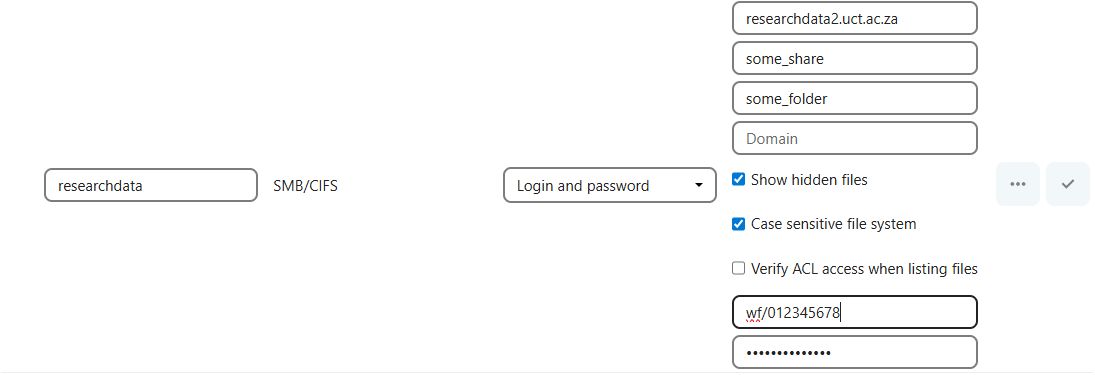
Select your profile initials top right and click on Settings. On the far left select External storage. Choose an unused storage slot. Add Researchdata as a description to Folder name. Under Add storage dropdown select SMB/CIFS.
Your reearchdata2 storage will conform to this naming standard: //researchdata2.uct.ac.za/some_share/some_folder Set Host to researchdata2.uct.ac.za, Share to some_share and Remote subfolder to some_folder. Leave Domain blank.
It is recommended to select Case sensitive file system. If you have hidden files select this too. Set login to wf/myuctacc where the myuctacc is your staff or student account (01234567 or abcdef001) In Password enter your password for the above account. Click on the tick mark, you will be asked to enter your UCT credentials again. The storage mount point is now saved.
Click on the Nextcloud icon top left and select External storage from the list below. The Researchdata storage mount point should now be visible and by selecting it you should be able to browse your data on the Researchdata drive. Note, the first time you select this it may take a few seconds to index the data.
Other linux servers:
This is identical to adding the HPC server above, however in this case enter the server DNS name, username and password for the specific non-UCT linux host you want to transfer data to or from. Set Root to a known folder on the linux server. If you are unsure of the folder name then set Root to /
Moving data
In the main menu on the left select All files or external storage. Select the server name and browse to the file\s or folder\s you want to move or copy. Select these with the tick box. Now click on Move or copy:

If you don’t have recents or favourites listed then click on the home icon and select the appropriate remote storage.
Browse to the appropriate folder and select Copy to or Move to.

Once you see the message Copy or move done in the top right the operation is completed.